

This project is going down as the most difficult sewing project I have embarked on this year. A friend said she needed some minor alterations done on her dress. I“ had her try it on and marked it for alterations. I took it home, looked in the inside and wanted to run screaming. Unfinished seams!“ Fraying edges!“ Boning sewn straight onto the seam allowance!“ WTF!?“ On top of that, the alterations that needed to be made were in the same area where all the beading was. I could a) render the dress useless by future wearers by removing the beadwork or b) sew in the darts by hand. B! it is (along with plenty of cussing due to stabbing myself with the needle).
Once the darts were in, it would have been nice to take in the sash at the side seam but my plan was once again twarted by the boning stitched in the side seam. There was no way I was performing surgery on this dress (especially after discovering the price tag). My only hope was to bust out the steamer and repleat the sash, and tack it by hand to make it lay right.
Lastly, the bride decided a not to wear shoes (I was hoping there would be a kitten heeled something or other. That way I could avoid hemming.)“ Girl Talk’s new album and I spend a few hours on replay hemming the polyester beast. More stabbing of fingers (luckily polyester can be cleaned).
I almost forgot. I had to figure out how to bustle the dress (and not make it look jodhpur-like). I will post the professional pic of my handywork for that one later.
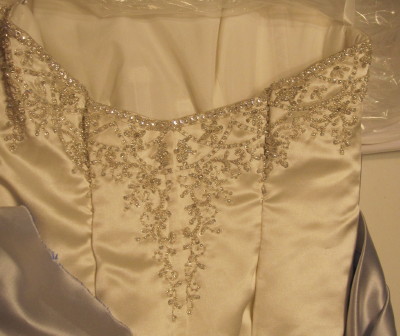
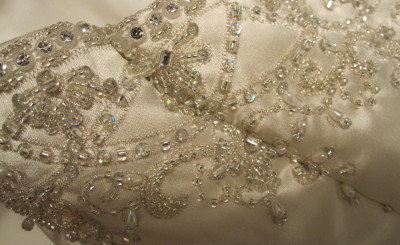
Here is a shot of the back of the dress (note the fraying sash) and a close up of my handy work. The dart was a half inch at the top and about an inch half way down.